






Blog
- Pralson feeder, poultry feeding system, and automatic chicken feeder solutions improve feed distribution efficiency, installation accuracy, operational stability, and daily flock management throughout modern poultry production.
Proper installation procedures reduce feed loss, maintain balanced feed availability, and support consistent bird performance from the first production day.
Each setup stage, from assembly to calibration and maintenance, contributes to reliable equipment operation and a longer service life.
Practical reference tables provide measurable installation values, operational settings, and maintenance intervals for everyday farm management.
- Additional technical guidance, troubleshooting advice, and frequently asked questions help operators achieve dependable feeding performance under different production conditions.
Get professional poultry farm construction guidance, equipment selection solutions, and the latest price lists, whatsApp to +8618830120193, +2348111199996, or click to learn more.
Understanding Main Components
Before installation begins, operators should become familiar with every major component of the feeder system.
Correct understanding simplifies assembly, improves maintenance efficiency, and reduces operational interruptions after commissioning.
Data is for reference only. Swipe horizontally to view full table.
Each component performs an individual function.
The hopper stores feed before distribution, the drive motor powers the conveyor, and the feed pans provide birds with consistent access to feed across the poultry house.
Prepare Installation Area
Preparing the poultry house correctly is the first step toward reliable operation of a pralson feeder.
A level floor, sufficient ceiling clearance, and suitable environmental conditions reduce installation errors and simplify future maintenance.
The floor should remain dry and stable before equipment assembly.
Moisture may shorten the service life of steel parts, while uneven surfaces can affect feeder alignment.
Data is for reference only. Swipe horizontally to view full table.
Preparing the installation area carefully helps minimize adjustment time while improving longterm operational reliability.
Assemble Feeding Line Correctly
The feeding line forms the central structure of the entire poultry feeding system.
Every pipe section should align accurately before clamps and connectors are fully tightened.
Incorrect alignment increases internal resistance and may reduce feed transportation efficiency during daily operation.
Support brackets should follow the recommended spacing to prevent line deflection after prolonged use.
Feed pans should remain evenly distributed to provide balanced feeding opportunities throughout the poultry house.
Data is for reference only. Swipe horizontally to view full table.
After assembly, manually rotate the feeding mechanism before connecting electrical power. Smooth movement indicates proper alignment.
Adjust Feeder Height For Bird Growth
Correct feeder height changes continuously as birds grow.
During the brooding period, feed should remain easily accessible.
As birds increase in size, the feeding pan edge should stay close to the birds' back level.
Proper adjustment reduces feed spillage and improves accessibility for the entire flock.
Data is for reference only. Swipe horizontally to view full table.
Daily observation remains the most effective method for determining whether additional height adjustment is required.
Calibrate Feed Flow
Feed flow calibration ensures every feeding pan receives an appropriate amount of feed without excessive accumulation.
Different feed forms, including pellets, crumbles, and mash, require separate calibration because movement characteristics vary during transportation.
Operators should perform several test cycles before introducing birds into the poultry house.
Data is for reference only. Swipe horizontally to view full table.
After calibration, the automatic chicken feeder can operate with consistent feed delivery while requiring only routine daily inspection.
Test Electrical And Safety Systems
Before birds enter the poultry house, every electrical component should operate under normal working conditions.
A complete inspection helps identify loose wiring, unusual vibration, or abnormal motor performance before production begins.
Run the feeder through several complete operating cycles while checking the hopper, drive unit, feed line, and feeding pans.
Stable performance during testing indicates that installation has been completed correctly.
Data is for reference only. Swipe horizontally to view full table.
Any abnormal sound, vibration, or electrical fluctuation should be investigated immediately before normal operation continues.
Establish Daily Inspection Routine
Routine inspection is essential for maintaining long-term equipment reliability.
Preventive maintenance reduces unexpected downtime and helps extend equipment service life.
Operators should inspect feed levels, feeder movement, electrical connections, suspension components, and feed pans every day.
Weekly maintenance should include cleaning and mechanical inspection.
Data is for reference only. Swipe horizontally to view full table.
Consistent maintenance planning minimizes repair costs and improves equipment availability throughout each production cycle.
Common Setup Mistakes To Avoid
Several installation mistakes may reduce feeder performance even when quality equipment is used.
Positioning the feed line too close to the side wall limits bird access.
Uneven suspension cable adjustment may cause the feed line to tilt during operation.
Filling the hopper before calibration can make system adjustment more difficult, while accumulated dust around moving parts gradually increases mechanical resistance.
If replacement components are required, spare parts typically range from US$18 to US$95 depending on the component specification.
European union standard reference only.
Careful installation and scheduled maintenance help avoid these unnecessary operational problems.
Practical Tips For Better Feeding Performance
Successful feeder performance depends on both equipment quality and daily management.
Fresh feed should be supplied according to production requirements.
Operators should monitor bird behavior after each adjustment because uneven flock distribution often indicates that additional feeder calibration is necessary.
Environmental conditions also influence feeding efficiency.
Higher humidity may increase feed caking inside the hopper, while elevated temperatures can reduce feed intake.
Recording daily feed consumption and maintenance activities provides valuable information for long term equipment optimization.
Frequently Asked Questions
Q1: How often should feeder height be adjusted?
A1: Feeder height should normally be checked every day during bird growth.
Height adjustments of approximately 20–35 mm are commonly required as birds develop.
Q2: Why does feed accumulate in only a few feeding pans?
A2: Uneven feed distribution is usually caused by incorrect feeder calibration, pipe misalignment, or accumulated feed residue inside the conveyor system.
A complete inspection should be performed before restarting operation.
Q3: How frequently should the feeding system be cleaned?
A3: Feed pans should be visually checked every day, while the feed line is commonly cleaned every 14 days and the hopper every 7 days under standard operating conditions.
Taiyu (HK) Group - One Of China Largest Pralson Feeder Manufacturer
Pralson feeder is designed for stable feed transportation, accurate distribution, durable construction, and dependable performance in commercial poultry farms.
Global factory direct production ensures competitive manufacturing costs, stable quality control, and reliable international delivery schedules.
Complete poultry equipment solutions include feeding, drinking, ventilation, environmental control, manure removal, and intelligent farm management systems.
Professional turn key engineering services cover project planning, equipment selection, layout optimization, installation supervision, commissioning, and technical training.
Extensive export experience supports customized commercial specifications for broiler, breeder, and layer farming projects across international markets.
Contact Us To Received Your Customized Poultry Farm Plan
Headquarters And Branchs
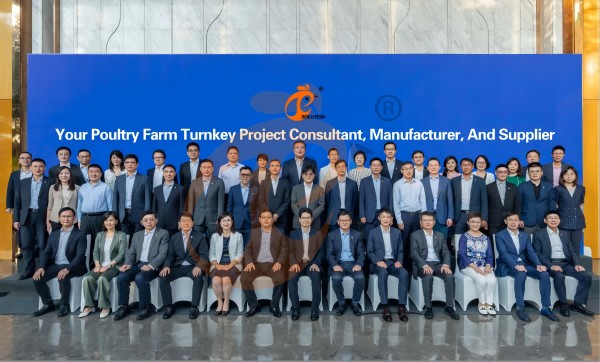
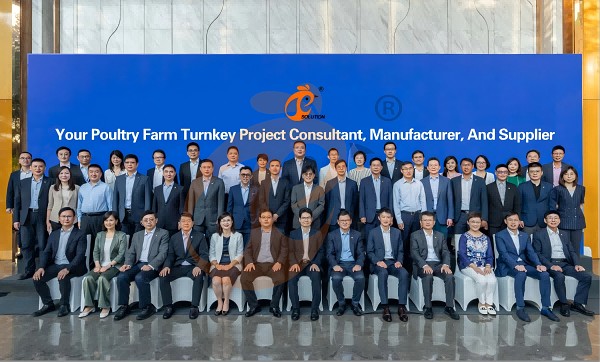
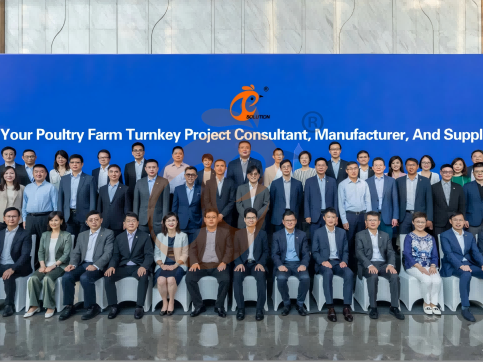
Hong Kong Headquarter Management Team
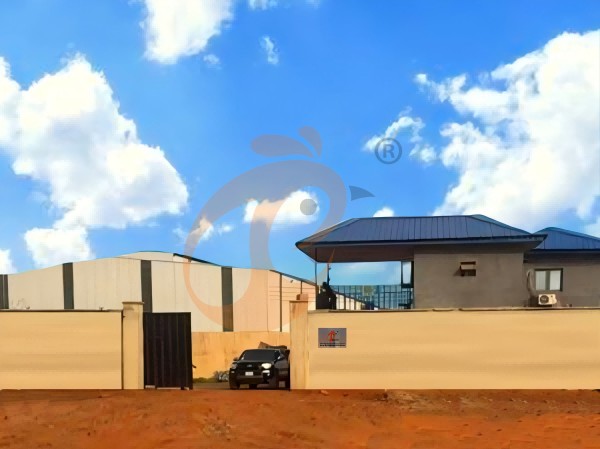
Hong Kong Headquarter Taiyu Industrial Group CO., LTD
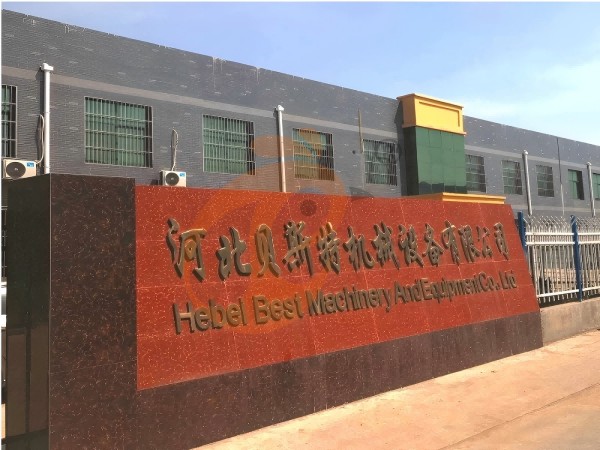
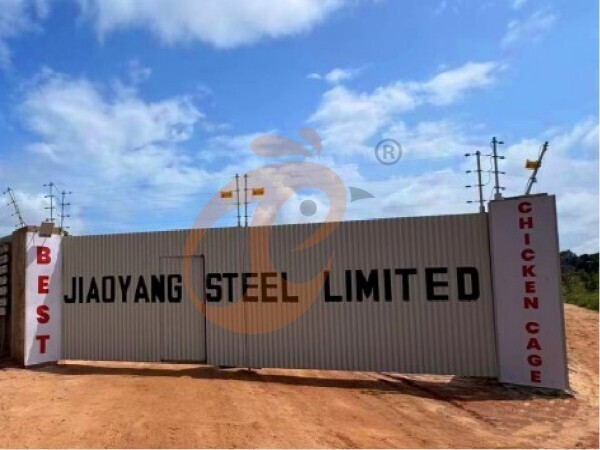
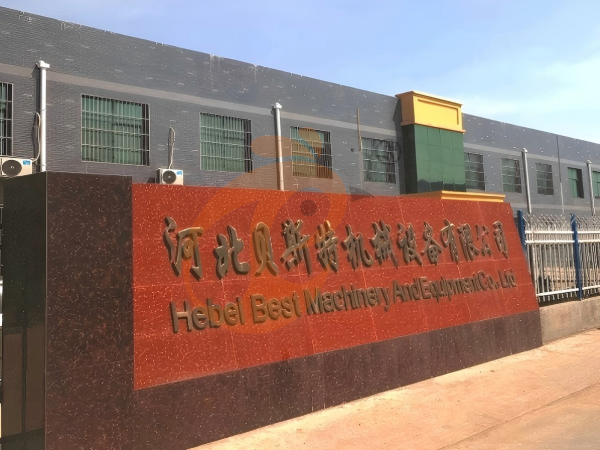
China Hebei Best Machinery And Equipment CO., LTD
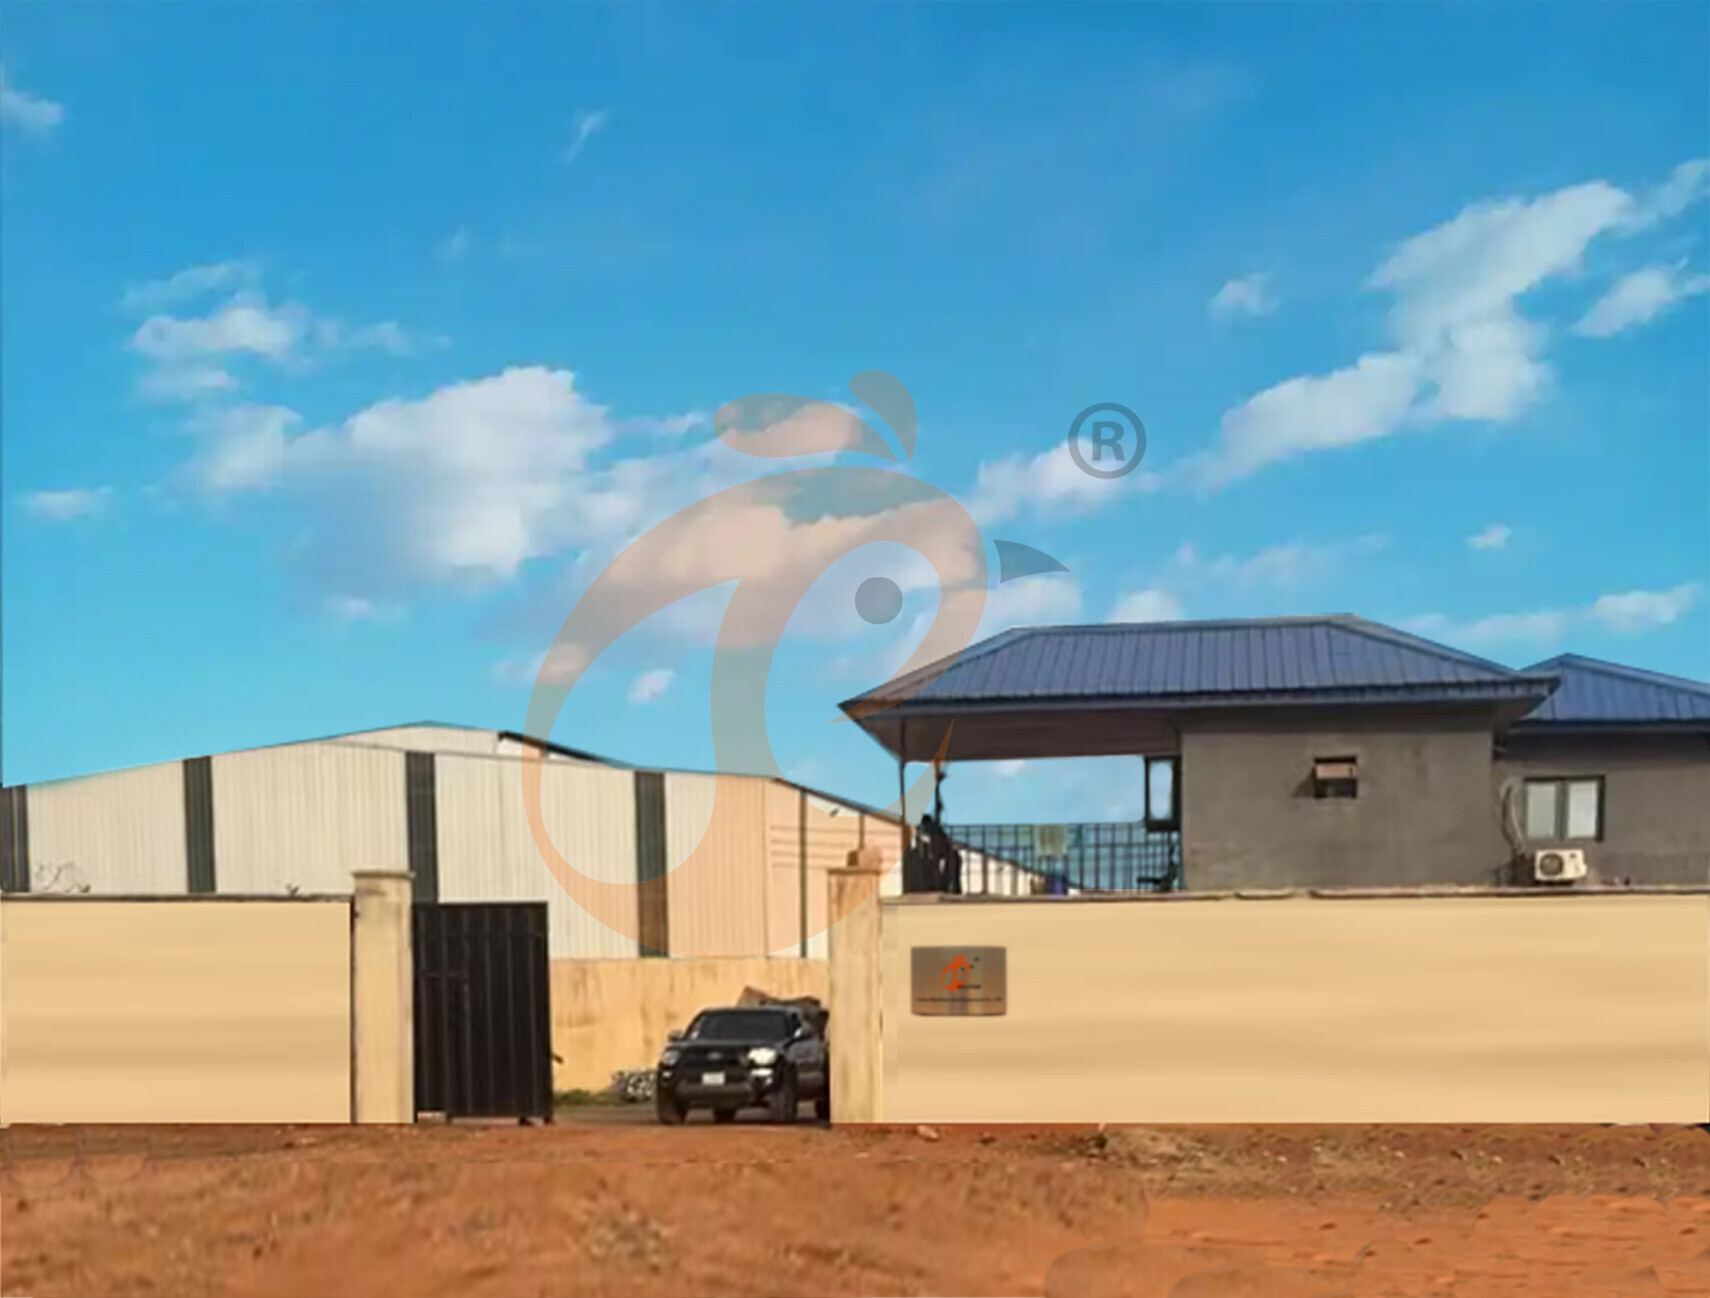
Nigeria Vanke Machinery And Equipment CO., LTD
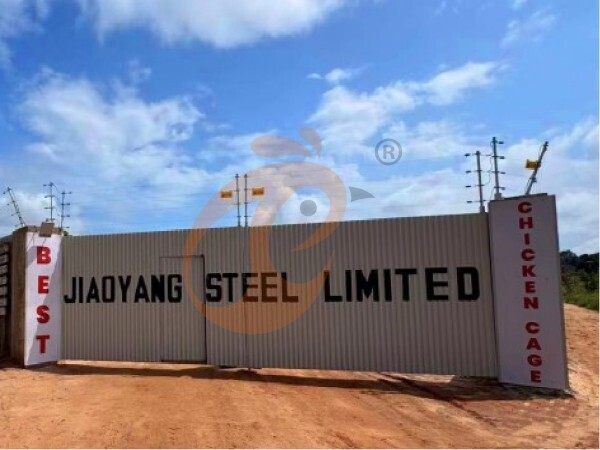
Tanzania Best Machinery And Equipment CO., LTD
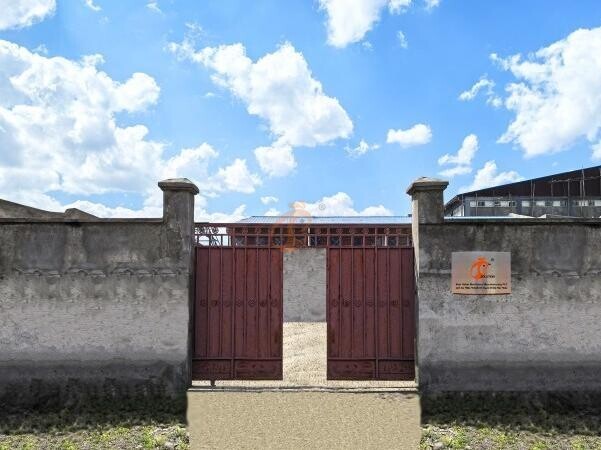
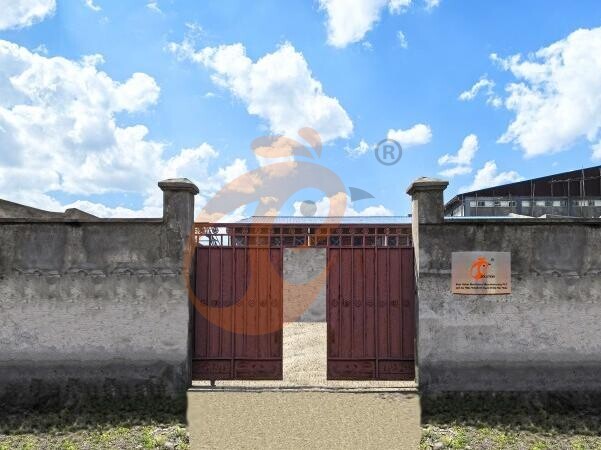
Ethiopia Best Hebei Machinery Manufacturing PLC
Reception /24 WhatsApp NO. : +8618830120193
FAQ
What Are The Water Filtration Requirements For Plasson Poultry Equipment?
Suspended solid concentration is controlled below 40 mg per liter for system stability.
Backwash flow rate reaches 1.5–2.0 m³ per hour for effective filter regeneration.
What Are The Pipeline Dimension Standards In Plasson Poultry Equipment?
Branch lines operate with 16–20 mm diameter for balanced pressure across drinking points.
Maximum pipeline length per zone reaches 80–120 meters without pressure loss impact.
What Are The Bird Age Adaptation Settings In Plasson Poultry Equipment
Water flow sensitivity is adjusted to 60–100 ml per minute for different age groups.
Bird access spacing is optimized at 8–15 birds per nipple depending on growth phase.
Message
Products recommended
 HK Headquarter Offers EU-standard Poultry Farm Solutions, Manufacture Poultry Farm Equipment1. Continuous communication with the EU and the US
2. China, Nigeria, Ethiopia, Tanzania branch companies and factories
3. The products’ quality is customized for local poultry farms
4. Poultry cage and poultry farm equipment stock for sale
5. 24 online reception Whatsapp NO. : +8618830120193,contact us to get full informationRead More China Branch Offer Poultry Farm Business Plan, Manufacture Poultry Farm Equipment1. Address: Flat/RM 2416, 24/F, Runxing Building, Youyi Nan Street, Shijiazhuang City, Hebei Province, China
2. Poultry cage and poultry farm equipment factory and stock for sale
3. Customized for local poultry farms
4. Quality and design are based on Euro
5. 24 online reception Whatsapp NO. : +8618830120193Read More Nigeria Branch Offer Poultry Farm Business Plan, Manufacture Poultry Farm Equipment1. Address: After Sinoma Office, 200 Meters Near Danco Filling Station, Lagos/Ibadan Expressway, Lagos State, Nigeria
2. Poultry cage and poultry farm equipment factory and stock for sale
3. Customized for Nigerian poultry farms
4. Quality and design are based on Euro
5. 24 online reception Whatsapp NO. : +8618830120193Read More Ethiopia Branch Offer Poultry Farm Business Plan, Manufacture Poultry Farm Equipment1. Address: Gelan Gura, Akaki-kaliti Sub City, Addis Ababa, Ethiopia
2. Poultry cage and poultry farm equipment stock for sale
3. Customized for Ethiopian poultry farms
4. Quality and design are based on Euro
5. 24 online reception Whatsapp NO. : +8618830120193, contact us to get price listRead More Tanzania Branch Offer Poultry Farm Business Plan, Manufacture Poultry Farm Equipment1. Address: No.8, Sova Road, Msufini, Mlandizi, Kibaha, Pwani, Tanzania
2. Poultry cage and poultry farm equipment factory and stock for sale
3. Customized for Tanzanian poultry farms
4. Quality and design are based on Euro
5. 24 online reception Whatsapp NO. : +8618830120193Read More Fully Automatic H Type Layer Chicken Cage1. 30,000-100,000+ layers/house chooses it, Poultry farmers can achieve an egg production rate of 96-98%
2. A significant improvement over the 85-90% typically seen in manual systems
3. A typical poultry farm can expect a 30-40% reduction in labor costs due to the automation
4. Each feeding line efficiently supplies feed to around 100,000 hens per 30 mins
5. Reception /WhatsApp NO. : +8618830120193Read More Fully Automatic A Type Layer Chicken Cage1. 10,000-50,000 layers/house chooses it
2. Cleaner egg collection reduces breakage by 0.5%
3. Improved hygiene helps reduce mortality rate to <3%
4. 1–2 technicians can handle 15,000–30,000 birds
5. Reception /WhatsApp NO. : +8618830120193Read More Semi Automatic H Type Layer Chicken Cage1. 1,00-20,000 layers/house chooses it
2. Nipple drinkers flow 30–60 ML / min
3. Hot-dip galvanized (typical coating ≥ 275 g/m²)
4. Reduce ammonia by ~ 35–40%
5. Reception /WhatsApp NO. : +8618830120193Read More Semi Automatic A Type Layer Chicken Cage1. 1,00-20,000 layers/house chooses it, no rust for 10 years, no deformation for 15 years
2. Chickens live comfortably, you can raise them with peace of mind
3. Save water, save money—efficiency you can measure
4. Improve environment quality, and increase egg production rate
5. Reception /WhatsApp NO. : +8618830120193Read More
By clicking 'Allow All', you agree to the storage of cookies on your device to enhance site navigation, analyze site usage and assist with our marketing efforts.